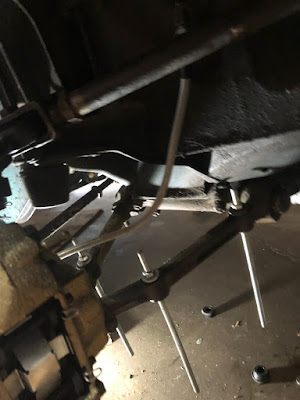
With the rear suspension finished, we moved to the front of the car. Our first task was to remove the sway bar.
Next, we used the Alfaholics 'Spring Tool' and a hydraulic jack to drop the spring assembly. It takes about 20 minutes per side.
When the front spring pans drop, be prepared for a shower of rust and dirt.
The aluminum pan spacers were completely corroded and beat up. Fortunately, the lowering kit does not use them.
Everything else, the pans and seats, was in good shape. So we cleaned, sanded and painted these parts.
The rubber donuts looked brand new after washing.
Again, the [old] front dampers were seized.
The Koni Sport dampers went in easy. I used one twist on the front, and the factory settings (full soft) for the rear.
Installing the lowered springs takes some time. We used the installation tool and a hydraulic jack to lift the assembly.
New 29mm sway bar installed.
Sump guard back on.


No comments:
Post a Comment